
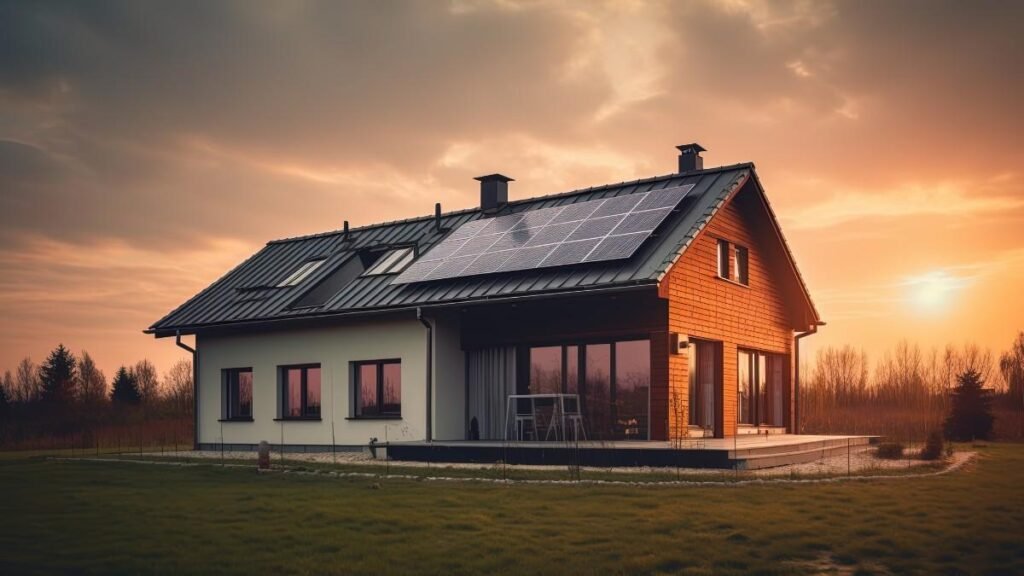
Many people are using solar power as an alternate energy source because it is environmentally friendly and becoming more necessary these days. Not only is installing solar panels on your roof a green choice, but it’s also a smart financial investment that will eventually help to lower your power costs.
However, for those who are not aware of the procedures, installing solar panels might appear like a difficult task.
This guide will walk you through the simple steps to install solar panels on your roof, making the process straightforward and manageable.
Introduction to Solar Power Roof Installation
Photovoltaic (PV) cells in solar panels transform sunlight into electricity, therefore capturing solar power. Installing solar panels on your roof does more than just show that you care about the environment; it also gives you power over how much energy you use and how much it costs.
Learning about how to build a solar power roof is important whether you want to help the environment or lower your energy bills.
Why Consider Solar Panel Installation?
Solar panel installation on a roof offers several benefits:
- Reduced Energy Costs: They can significantly lower your electricity bills, making them a cost-effective solution in the long run.
- Environmental Impact: Solar energy is a clean, renewable resource that minimizes your carbon footprint.
- Increased Property Value: Homes with solar panels are often valued higher due to the potential savings on energy bills.
- Energy Independence: By generating your electricity, you reduce your reliance on the grid and protect yourself from rising energy prices.
Let’s now begin the step-by-step installation of solar panels on your roof.
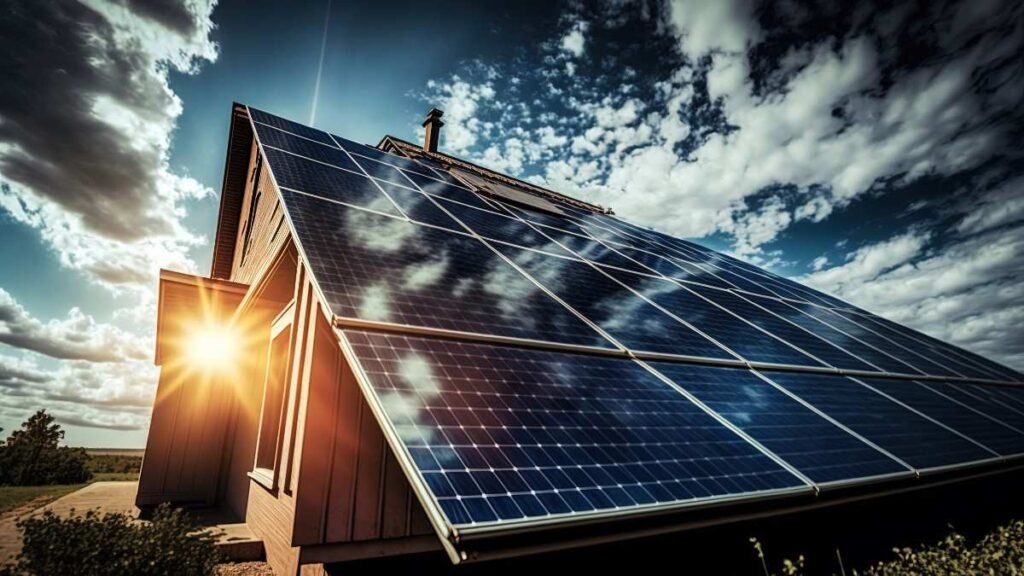
Step 1: Assessing the Suitability of Your Roof

Before you can proceed with the installation, it’s essential to determine whether your roof is suitable for panels. Not all roofs are ideal for solar power, so this initial assessment is crucial.
Roof Orientation and Angle
The orientation and angle of your roof play a significant role in the efficiency of your panels. Ideally, your roof should face south (in the Northern Hemisphere) to maximize sunlight exposure.
The angle of the roof should also align with your geographical location to capture the optimal amount of sunlight.
Roof Condition
Your roof must be in good condition to support the solar panel installation. Inspect for any damage or weak spots that need to be repaired before the installation begins. It’s recommended to replace or repair your roof if it’s nearing the end of its lifespan, as solar panels have a lifespan of 25-30 years.
Shade Analysis
Shading from trees, buildings, or other structures can significantly reduce the efficiency of your solar power system. Conduct a shade analysis to ensure that your roof receives enough sunlight throughout the day.
Step 2: Designing the Solar Panel System
Once your roof has been deemed suitable, the next step is to design your solar panel system. This involves determining the number of panels you need, their placement, and the type of panels that best suit your energy needs.
Calculating Energy Needs
To determine the number of panels required, you need to calculate your household’s energy consumption. Usually, your power bills include this information right there. Once you know your energy needs, you can estimate how many panels are required to meet them.
Selecting the Right Solar Panels
Panels come in a variety of forms, such as thin-film, polycrystalline, and monocrystalline panels. In terms of look, cost, and efficiency each offers benefits and drawbacks. Select panels best fit for your energy use and financial constraints.
Planning the Layout
The layout of your panels is crucial for maximizing efficiency. Work with a solar power roof professional to plan the optimal layout, considering factors such as roof space, panel size, and potential shading.
Step 3: Obtaining Necessary Permits and Documentation
Before you can begin the installation, you’ll need to obtain the necessary permits and documentation. The requirements vary depending on your location but typically include building permits, electrical permits, and possibly a permit from your utility company.
Building and Electrical Permits
These permits ensure that your solar panel installation complies with local building codes and electrical standards. You may need to submit detailed plans and specifications of your installation to obtain these permits.
Utility Company Approval
If you plan to connect your solar panel system to the grid, you’ll need approval from your utility company. This process often involves a review of your system design to ensure it meets safety and regulatory standards.
Rebates and Incentives
While you’re obtaining permits, check for any available rebates or incentives that can reduce the cost of your solar panel installation. To promote the acceptance of solar energy, several governments and utility companies provide financial incentives.
Step 4: Installing the Mounting System
With permits in hand and your design finalized, it’s time to begin the actual installation. The first step in this process is installing the mounting system, which will hold the panels in place on your roof.
Types of Mounting Systems
There are various mounting systems available, including roof mounts, ground mounts, and pole mounts. Roof mounts are the most common for residential installations.
These can be further categorized into flush mounts, which are installed parallel to the roof surface, and tilt mounts, which are angled to capture more sunlight.
Installing the Mounts
The mounting system must be securely attached to your roof’s rafters to ensure stability and safety. The process involves drilling holes into the rafters and attaching the mounts with bolts. This step requires precision to prevent roof leaks and ensure the panels are securely fastened.
Waterproofing the Mounts
After installing the mounts, it’s essential to waterproof them to prevent any leaks. This is typically done by applying sealant around the bolts and flashing to create a watertight barrier.
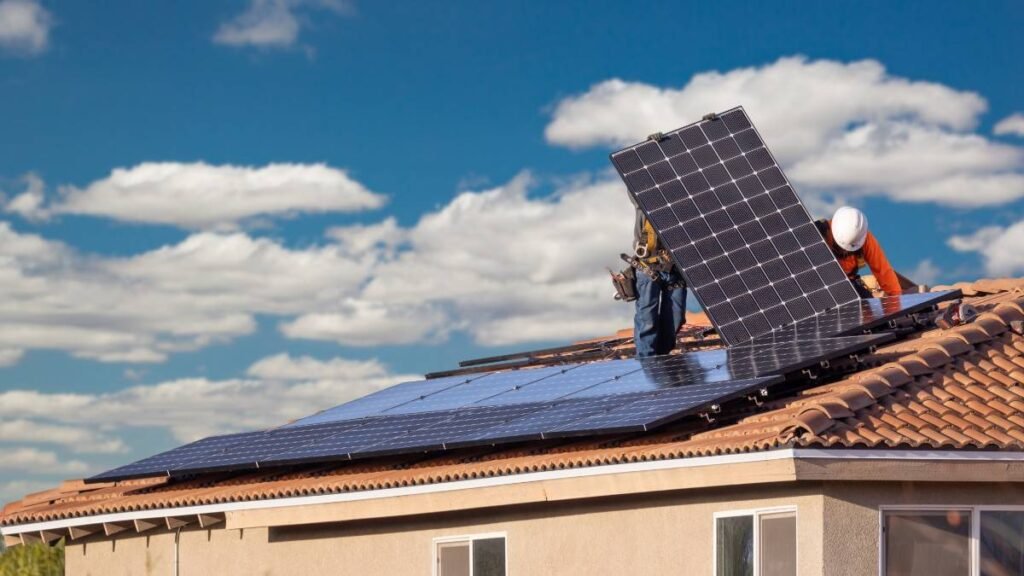
Step 5: Installing the Solar Panels
With the mounting system in place, the next step is to install the panels themselves. This is where your solar power roof truly begins to take shape.
Securing the Panels
The panels are secured to the mounting system using clamps or brackets. Care must be taken to ensure that the panels are securely attached and properly aligned for optimal sunlight exposure.
Wiring the Panels
Once the panels are in place, they need to be wired together to form an array. This involves connecting the panels in series or parallel, depending on your system design, to achieve the desired voltage and current.
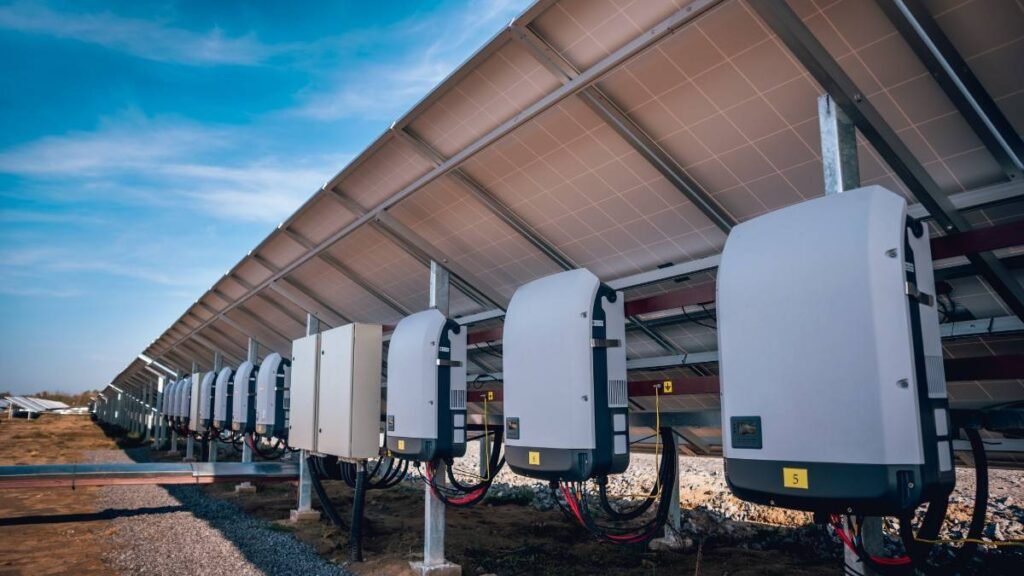
Connecting to the Inverter
The panel array is connected to an inverter, which converts the direct current (DC) produced by the panels into alternating current (AC) that can be used in your home. Usually, the inverter is installed adjacent to your main electrical panel.
Step 6: Connecting the System to the Grid
If you’re planning to connect your solar panel system to the grid, this is the final step in the installation process. This step requires coordination with your utility company.
Installing the Meter
A special meter is installed to measure the electricity generated by your solar panels and the electricity you consume from the grid. This allows you to take advantage of net metering, where excess electricity generated by your system is fed back into the grid, earning you credits.
Final Inspection
Before you can turn on your system, a final inspection is required to ensure that everything has been installed correctly and meets all safety standards. This inspection is usually conducted by a local building inspector or a representative from your utility company.
Turning on the System
Once the inspection is complete and you have received approval, you can turn on your solar power system and generate electricity. Congratulations! Your roof with solar panels is now a source of clean, renewable energy.
Conclusion
Installing solar panels on your roof is a significant step towards energy independence and environmental stewardship.
By following these simple steps, you can successfully navigate the solar panel installation process, from assessing your roof’s suitability to connecting your system to the grid.
Not only will you reduce your carbon footprint, but you’ll also enjoy the financial benefits of lower energy bills and potential incentives.